Priceless memories of you, your first steps, birthday parties, and family vacations are just some of the memories that are found embedded in old home videos that are usually stuck in old formats, or they are of very poor quality. Using CapCut’s AI tools, particularly its AI video upscaler, you can restyle your old childhood footage to make it more defined, clear, and brighter, and share it with the new generation.
The desktop version of CapCut enables users to restore videos, even those without prior experience working with videos. Cleaning VHS transfers or pixel stuff saved on early digital cameras, CapCut will guide you to turn fuzzy memories into cogs in good stories.

Why Use CapCut to Restore Old Videos?
CapCut Desktop is not only a video editor that can restore the past and improve childhood memories in quality and detail. It is aimed at a novice and amateur editor and provides an easy-to-use, feature-rich editing experience that will be delivered by intelligent, AI-enhanced features. So, this is how CapCut allows you to bring back old videos to look professional:
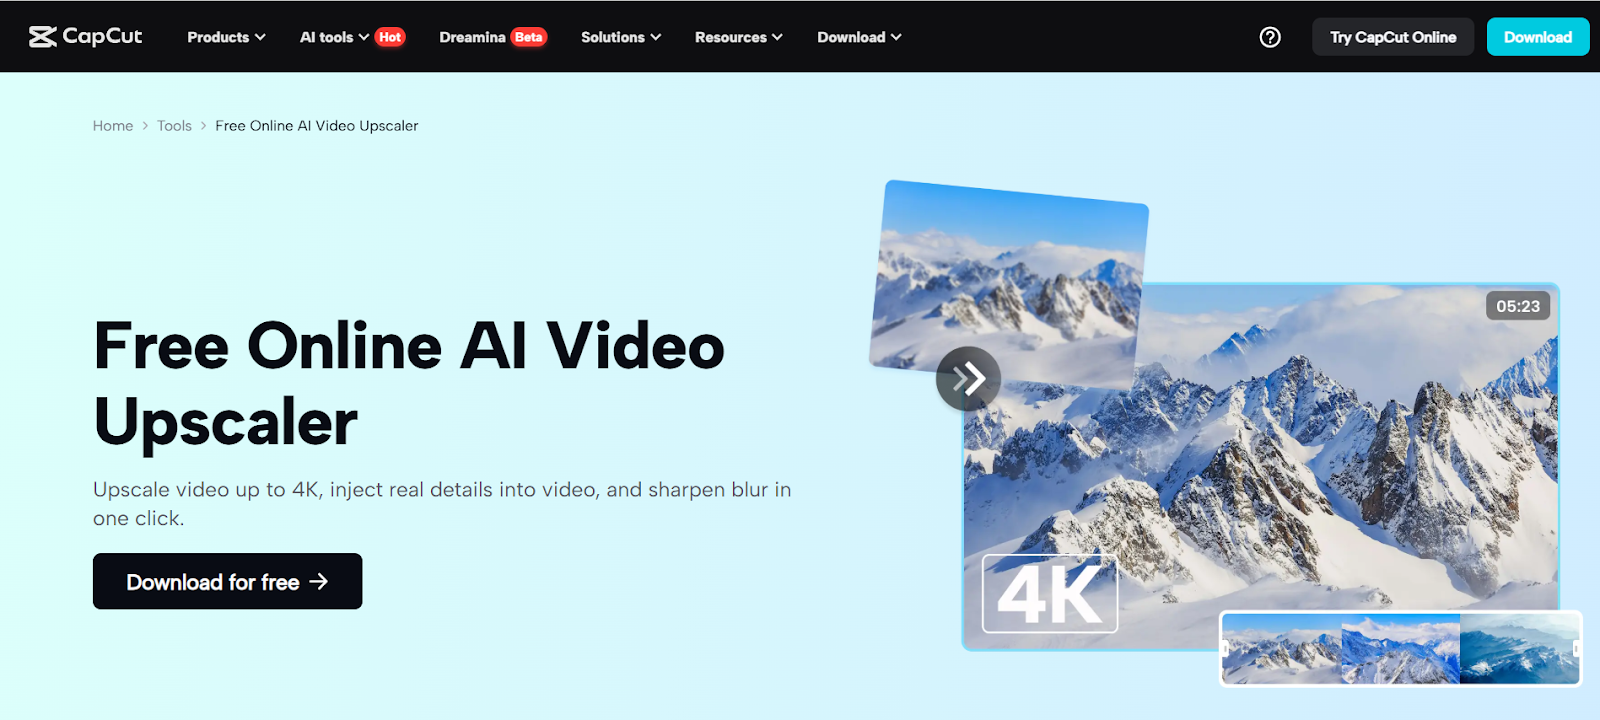
AI Video Upscaler: This smart technology boosts the sharpness of low-quality videos, eliminates pixelation, and adds details to the video without making it look plastic. It is ideal for restoring grainy videos on VHS tapes or early digital cameras.
Color Correction: Videos that are old tend to be darkened or overexposed in regard to the color of the video. CapCut allows controlling the brightness, contrast, saturation, and warmth to restore the initial colors, and the footage will appear new and fresh again.
Stabilization: Home videos did not require stabilization since they used shaky and handheld recording. The integrated stabilization that CapCut consists of removes those shakes, and now your fixed videos are easier to view, mainly on a big display.
Text-to-Speech: It is time to narrate your memories and give them a sound using text to speech AI with CapCut. Even when you are not going to record your voice, you could easily write a short script and select one of the realistic voices to make it personal or informative.
Export in HD: After you are done with restoration, you can export the video in breathtaking 1080p or even 4K. That guarantees that your childhood memories are clear and cinematographic that you can show your relatives, post them on YouTube, or pass them on to your descendants.
It doesn’t matter whether you’re making a dusty family reel, marking a big birthday, or commemorating a death with the help of old times; CapCut gives the creative resources you need to restore everything and experience history. And what is best: you do not need editing experience to start.
Step-by-Step: How to Restore Childhood Videos Using CapCut
Step 1: Start a New Project and Import Footage
Open CapCut Desktop and press the button “New project”. Drag your old childhood clips, whether they are now digitized on tape or they are old digital files, to the media bin. Drag and drop them onto the timeline to start to edit them.
Step 2: Use AI Video Upscaler to Enhance Quality
Choose the clip in your timeline and go to the right panel, and click on “Enhance quality”. Turn on the AI video upscaler that automatically enhances dull video by sharpening low-resolution video and making it less blurry. This is a perfect accessory to the ancient 480p or 720p clips, making them a clear and sharp picture.
Step 3: Fix Colors and Lighting
Find the tab “Adjust” and bring back lost hues or too deep shots with the help of brightness and contrast scales, as well as saturation. If you notice that your footage is yellowish or even washed-out, the filters and the manual options in CapCut allow recreating the initial colors.
Step 4: Add Captions or Voice Narration
Wish the situations in the shots were put in a context? Add voice narration with the help of the text to speech AI feature of CapCut. Just type a small script such as the following. This was the 5th birthday party of Sarah in 1998. Select the style of voice and create a voiceover. Text boxes also allow for providing on-screen labels or dates. The AI Voice generator feature in CapCut Desktop Video Editor is a game-changer.
Step 5: Export Your Restored Video to HD
After you are satisfied with your restored footage, hit the “Export” button in the top-right corner. Select an output at 1080p or above, give your video a catchy name, and save it so that you may share it with your family or back it up in the cloud.
Bonus Tip: Create an Animated Memory Reel
Need to make it even more special? CapCut has AI video generator tools to use to create a memory reel by turning restored clips into a short video animation. Add transitional effects, soundtrack, and movement of the text, making it right at home during reunions, slides, or souvenirs.
Final Thoughts
Childhood restoration was achieved only with the help of costly software and complicated tools, whereas now, CapCut and its intelligent AI-based video upscaler can easily restore your videos via DIY capabilities. Never mind whether you want to remind yourself of past events or save those moments to present to your children, CapCut will deliver the most vivid and powerful reminders of your life to you so that they will stay in your minds a little clearer, warmer, and richer with memories.